
Carcass and shelves
Define finished dimensions, clear shelf span, support points, expected load, connector machining, visible edges and assembly method.
Wardrobe component specification
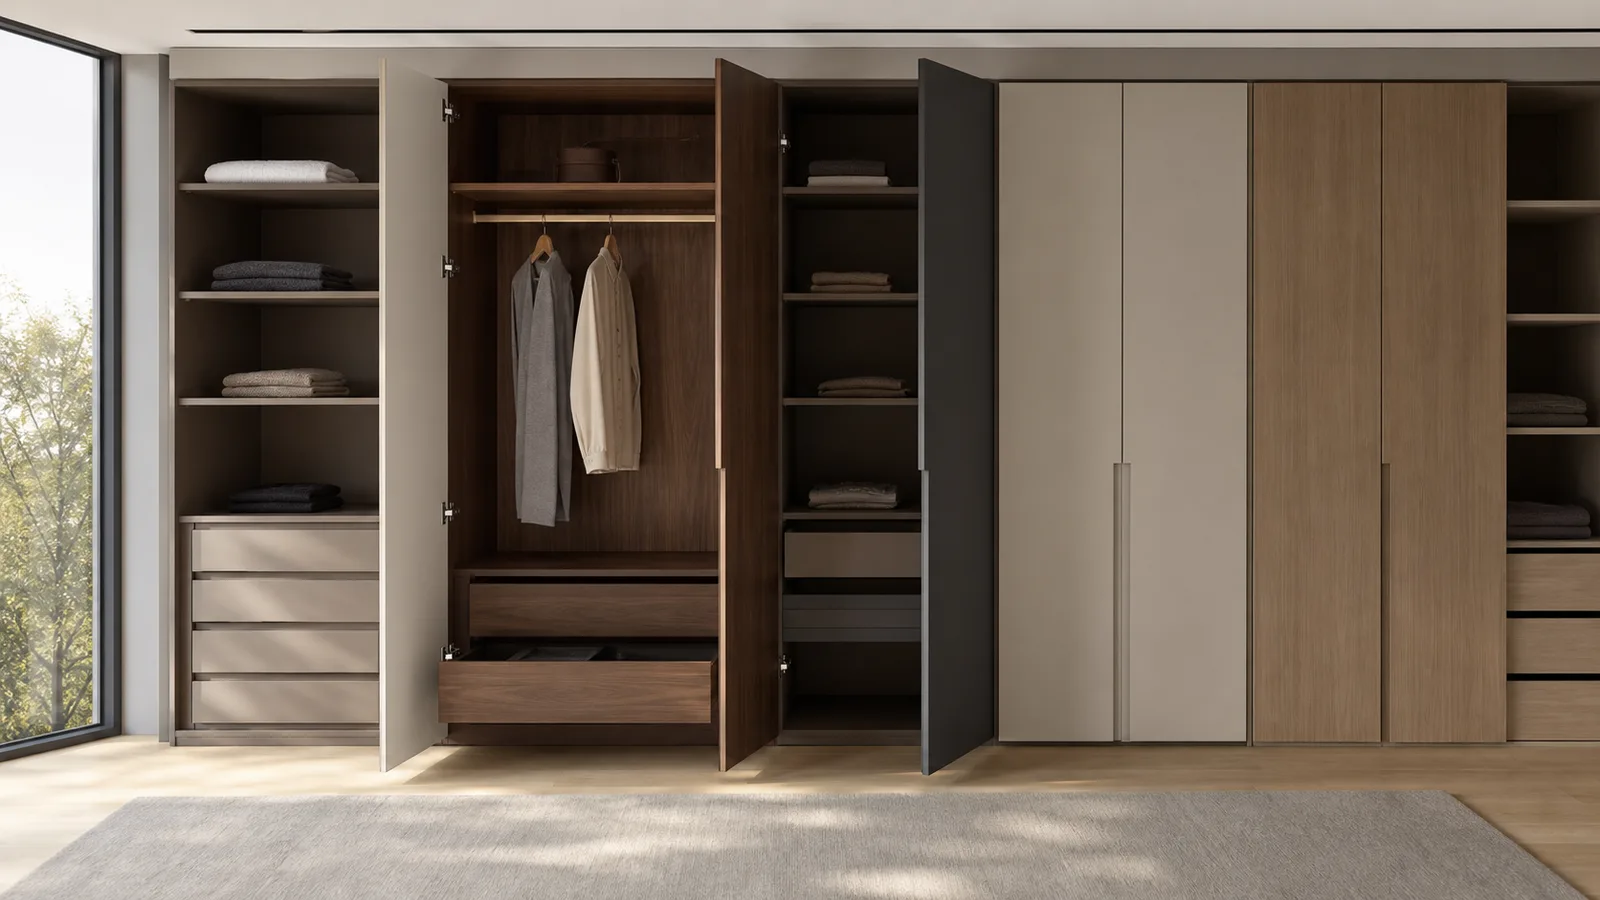
Specify each wardrobe component separately. Connect door geometry, shelf support, decorative faces, hardware machining, backs, first assembly and cabinet-set packing before quotation.
Direct answer
Separate carcasses, shelves, hinged or sliding doors, drawers and backs before choosing thickness, surface, hardware and packing.
Start with the part and connect it to the room and cabinet system. The same wardrobe can require different MDF constructions because each component has a different span, appearance, movement and fixing condition.
Define finished dimensions, clear shelf span, support points, expected load, connector machining, visible edges and assembly method.
Approve face, reverse, direction and edge as one construction, then calculate finished weight against the actual hinge or sliding system.
State back-panel thickness, orientation and groove fit, then group labelled parts, hardware and spares by cabinet or installation zone.
Approve visible components with their adjacent panels under relevant lighting. Density supports weight planning, while door stability, shelf capacity and fixing performance follow the complete component and hardware design.
Wardrobe system type
Built-in, freestanding, walk-in and sliding-door wardrobes use different site interfaces, hardware and packing logic. State the system type before component pricing.
| Wardrobe system | Inputs to define | Representative approval |
|---|---|---|
| Built-in wardrobe | Wall, floor and ceiling conditions, installation clearances, fillers, service access and site measurement reference | Approve one fitted bay with adjoining walls, doors, internal parts and finishing junctions |
| Freestanding wardrobe | Overall stability design, finished weight, back construction, connector system, levelling and transport route | Assemble the complete representative cabinet and verify door operation, squareness and support |
| Walk-in wardrobe or storage wall | Module grid, corner conditions, repeated shelves, lighting or service interfaces, room sequence and replacement-part plan | Approve the first module group and preserve room, module and part identities through packing |
| Sliding-door wardrobe | Finished door size and mass, track and roller system, overlap, stops, anti-jump details, handles and floor or ceiling interface | Trial the completed sliding system across the full travel and adjustment range |
Component decision matrix
Different wardrobe parts need different information and approval check, even when they share the same decorative family.
| Wardrobe component | Material option to compare | Critical information | Approval point |
|---|---|---|---|
| Carcass sides, tops and dividers | Melamine, veneered, laminated or otherwise specified MDF construction | Finished dimensions, connectors, wall and floor clearances, face orientation, visible edges and assembly method | First carcass assembly confirms squareness, joints and hardware fit |
| Long shelves | Thickness and MDF option selected from the actual shelf design | Clear span, support points, intended contents, edge build, finished weight and adjustable or fixed installation | Furniture designer verifies the supported shelf against the complete design |
| Hinged doors | Melamine, veneer, paint, routed, acrylic or other approved front construction | Door height, width, thickness, finished weight, face and back balance, hinge reference, cup and fixing positions | Finished door is fitted to the representative cabinet |
| Sliding doors | Flat and dimensionally controlled faced MDF construction | Door size and weight, track and roller limits, handle profile, edge solution, overlap, stop and anti-jump details | Trial and approve the complete sliding system with its finished panel |
| Drawers and internal components | Component-specific MDF or faced-panel option | Runner and connector holes, bottom groove, front alignment, internal finish, part identity and quantity | First drawer checks hardware, clearances and repeated machining |
| Back panels | Hardboard, thin MDF or another drawing-defined construction | Thickness, face orientation, groove or rebate fit, fixing method, ventilation openings and support role | Trial the back in the actual carcass and confirm the complete construction, fit and support |
Door and hardware decision
Use the finished door, including faces, edges, profiles, handles and hardware-related work, to select hinge quantity, track and roller capacity.
Record height, width, thickness, face, reverse, edges, routed details, handle route and expected finished mass.
Provide hinge, runner, track, roller or connector references and the responsible supplier’s limits and installation instructions.
Dimension cup holes, fixing holes, grooves and handles from stated datums. Separate left/right and mirrored parts in the bill of materials.
Check alignment, gaps, travel, stops, opening clearance, visible edges and adjustment on the first cabinet before repeat production.
Surface schedule
Define the wardrobe finish with an approved reference that identifies construction, colour, texture or gloss, grain direction, matching and visible edges.
| Surface construction | Typical component | What must be specified |
|---|---|---|
| Melamine-faced MDF | Repeatable carcass parts, shelves and flat fronts | Specify MDF core, décor code, texture, face and reverse, direction, edge band and whether matching components come from the same controlled production reference. |
| Natural veneered MDF | Visible doors, end panels and premium interior parts | Specify veneer species, cut, matching method, lay-up, grain direction, sequence, balancing back, edge treatment and acceptable natural variation. |
| Painted or routed MDF | Smooth painted fronts and profiled wardrobe doors | Specify substrate, profile section, remaining material, face and edge preparation, primer, topcoat, colour, gloss and representative finished sample. |
| Acrylic, laminate or PVC-faced MDF | Decorative flat or routed fronts | Define flat or membrane construction, face reference, reverse balance, gloss or texture, edges, protective film and cleaning expectations. |
Failure analysis
Review geometry, support, hardware, orientation, revisions, material and packing together when a recurring problem appears.
| Observed problem | What the symptom may indicate | How to control the order |
|---|---|---|
| A tall door moves or does not align | Large geometry, finished weight, unequal face construction, hardware layout, storage or installation can interact. | Record both faces, final door dimensions and calculated finished weight; approve the door with the actual hinge or sliding system. |
| A long shelf deflects in use | Shelf performance combines thickness, clear span, support, load, edge build and time. | Give the furniture designer the real span, support points, expected contents and finished construction before confirming the part. |
| Doors match colour but not grain or texture direction | Part orientation was absent from the drawing or labels, or natural veneer matching was not specified. | Add arrows and front/back codes to the cut list, approve adjacent samples and preserve the sequence through packing. |
| Hinges, runners or connectors have fit conflicts | Hardware references, datums, hole depth or drawing revisions were not controlled together. | Release one hardware schedule and one drawing revision; inspect a first cabinet set before repeating the machining program. |
| A back panel is loose, visible on the wrong face or will not enter the groove | The back was purchased as a generic thin board without actual groove, face and assembly data. | Specify finished thickness, cut size, orientation, fit allowance and fixing method, then trial it in the representative carcass. |
| A complete order reaches site with an inefficient assembly sequence | Parts were grouped by size while cabinet-set packing and bill-of-material labels remained incomplete. | Choose cabinet-set or installation-zone packing, preserve part IDs and separate spares and replacement parts. |
First set and inspection
A complete first cabinet set demonstrates door alignment, shelf support, hardware fit, back-panel assembly and the packing sequence.
Match every part ID to material, thickness, finished dimensions, quantity, face direction, edge and machining revision.
Approve the physical face and edge, adjoining-panel direction, veneer sequence or decorative batch boundary required for the set.
Assemble hinges, runners, connectors, sliding gear and back panels on the representative cabinet; record any controlled adjustment.
Check finished size, squareness, holes, grooves, profiles and handed parts using the agreed drawing and measuring method.
Use cabinet, room or zone IDs, front/back and grain arrows. List spare or replacement parts separately from complete sets.
Protect long doors and visible faces, support panels flat, separate hardware from finished surfaces and reconcile set quantities before loading.
Wardrobe component RFQ
Send unknown design inputs as unresolved questions so every supplier quotes the same confirmed basis.
Relevant MDF products
Use the component matrix to compare these options; final values and suitability remain order-specific.
Specify core, décor, texture, direction, reverse face and edge system for repeat wardrobe components.
View product →Product optionControl species, veneer cut, matching, grain direction, balancing layer and natural variation.
View product →Product optionCoordinate smooth faces, routed profiles, cut edges and the complete coating process.
View product →Product optionUse front and section drawings to control profile, remaining material, hardware machining and finishing process.
View product →Product optionSupply rectangular components from a controlled cut list with part IDs, orientation and pack grouping.
View product →Product optionReview thin supported back-panel and drawer-bottom parts by thickness, face orientation, fit and flat packing.
View product →Buyer questions
Use these answers to identify which design and purchasing inputs still need confirmation.
MDF can be used for protected-interior wardrobe components when each part is specified by dimensions, surface, edge, support, hardware and assembly. Give carcass panels, shelves, doors, drawer parts and backs their own component-specific specifications.
Select the door construction from the final size, finished weight, face and back balance, edge, hardware and approved appearance. Flat melamine, veneer, paint, acrylic and routed constructions each serve different appearance and processing requirements. Match the hinge or sliding system to the completed door.
Select thickness from the clear span, support positions, expected contents, finished construction and permitted movement. Send those inputs for furniture-design review and use an application-specific shelf decision.
The face and reverse construction should be coordinated for the intended appearance and panel behaviour. Both sides may use different decorative finishes, with the face, reverse and edges defined and approved as one door construction.
Hardboard can be reviewed for supported wardrobe backs when thickness, cut size, smooth-face orientation, groove or rebate fit, fixing and the complete cabinet design are defined. The complete cabinet design provides the required structural support.
Send the cabinet and part schedule, finished dimensions, quantity, MDF and surface construction, front/back and grain direction, edges, hardware machining, door system, samples, kit packing, spares and destination.
Application to specification
Send the cabinet and part schedule, dimensions, surfaces, hardware drawings, quantities, first-set requirements, kit packing, spares and destination. CUZI MDF will review the order-specific requirement.