
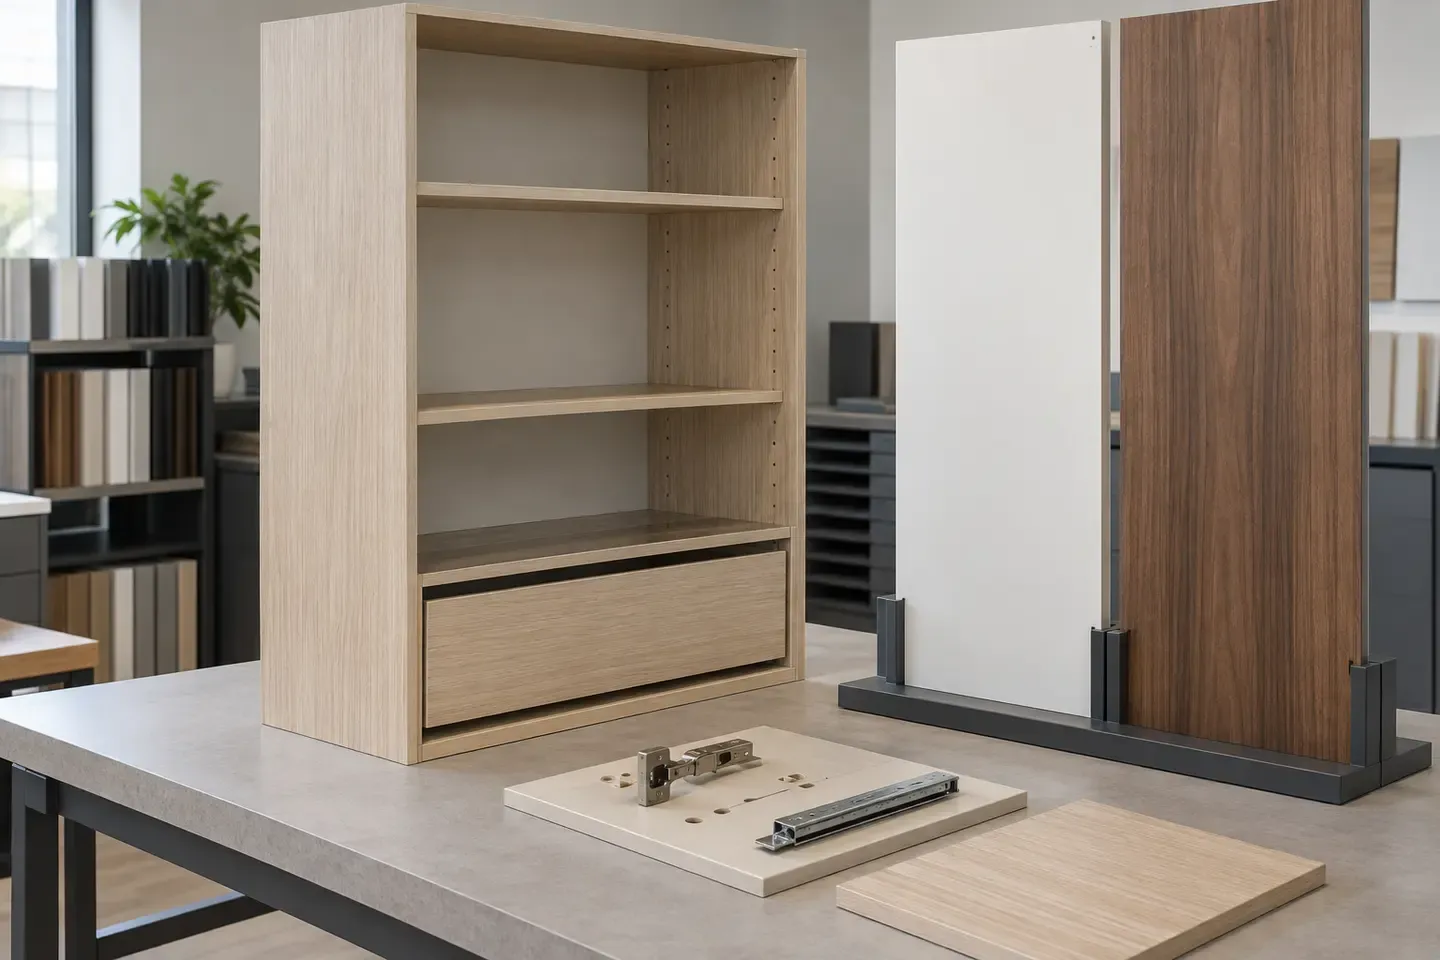
Wardrobe MDF selection starts with the complete elevation and component schedule. Separate carcasses, shelves, backs, drawers, hinged or sliding doors and visible end panels, then coordinate board construction, finish, grain direction, hardware, handed parts and installation packs.
Start with the complete wardrobe elevation
Record overall width, height and depth; wall, ceiling and skirting clearances; bay divisions; door type; drawer positions; visible end panels and installation access. Assign a wardrobe, room and elevation ID so drawings, finishes, parts and packs share one reference.
Break the wardrobe into component families
Give every part family its own material and processing decisions.
| Component family | Main specification decisions |
|---|---|
| Carcass side, top and base | Thickness, face/reverse finish, connectors and visible edges |
| Fixed or adjustable shelf | Span, support, edge, drilling and finished weight |
| Back panel | Product type, thickness, groove or fixing and service openings |
| Drawer component | Side, base, front, runner interface and assembly method |
| Hinged or sliding door | Finished size, construction, edge, handle and hardware system |
| Filler or end panel | Site dimension, finish direction, scribe or return and joint position |
This schedule allows each wardrobe component to carry the board and finish suited to its role.
Select board and surface by component
Carcass parts often prioritize a repeatable faced surface and assembly drilling; visible doors and end panels may prioritize paint, veneer, melamine, laminate or another decorative finish; backs and drawer bottoms use a product and fixing detail suited to their supported role. Record each decision by part code in the component schedule.
Review tall-door geometry and finished weight
Record finished height, width and thickness together with face, reverse, edges, routed features, handle and hardware. Calculate or measure the finished door weight using the complete construction. Coordinate that weight and the door proportions with the selected hinge or sliding system and its approved layout.
Separate hinged and sliding-door requirements
Door movement changes the information needed for production.
| Door system | Details to coordinate |
|---|---|
| Hinged door | Hinge model, cup and plate positions, opening angle, overlay, gaps and handle |
| Sliding door | Track system, top and bottom interfaces, rollers, guides, overlap and handle profile |
| Tall routed front | Profile section, remaining material, face/reverse balance and hardware zones |
| Paired decorative fronts | Grain or decor sequence, matching edges, joint gap and installed order |
Map grain, pattern and decor direction
Use the elevation to mark top, visible face, vertical or horizontal direction, door pairs and panel sequence. Apply the same orientation to the cut list, nesting plan, inspection reference and part labels. For veneer, state species, cut, matching and accepted natural variation; for melamine or laminate, identify the approved physical decor and texture sample.
Define face, reverse and edge balance
Record both door faces, carcass interiors, exterior end panels and every visible edge. Coordinate material, colour, gloss, texture and direction across face, reverse and edge. For large doors and panels, review the complete construction, finished thickness and handling method together.
Control shelves and support interfaces
Define the installed condition for every shelf.
- finished length, depth and thickness;
- fixed or adjustable support system;
- connector or shelf-pin drilling pattern;
- front and side edge treatment;
- expected stored load defined by the furniture designer;
- relationship with doors, drawers, backs and vertical dividers.
Review a representative shelf and bay using the selected support and complete finish construction.
Detail backs, drawer bottoms and service openings
Show whether the back or drawer bottom fits a groove, rebate, frame or direct fixing. Define the supported span, face orientation, joint position and installation sequence. Dimension cable, ventilation or access openings from named datums and include their edge treatment where required.
Coordinate hardware drilling
Provide current hinge, runner, connector, rail, handle and sliding-system references with controlled drawings. Separate left and right components, visible faces, blind holes and through operations. Relate hole depth and edge distance to the finished panel thickness and surface construction.
Approve one representative wardrobe bay
Assemble or dry-fit a representative bay containing a carcass, shelf, back, drawer or internal component, door and selected hardware. Review overall dimensions, squareness, gaps, movement, hardware adjustment, finish direction and installation access. Record the accepted drawings and part identities before repeat production.
Approve visible finishes as an elevation
Place adjacent doors, drawer fronts, fillers and end panels together under relevant lighting. Review colour, gloss, veneer variation, grain or pattern direction, edge match and joint rhythm. Include the reverse face and interior finish where the open wardrobe makes them visible.
Inspect the wardrobe component set
Inspect parts individually and as a coordinated set.
| Inspection area | Review point |
|---|---|
| Identity | Wardrobe, bay, part, handed side and drawing revision |
| Dimensions | Finished size, squareness, holes, grooves and clearances |
| Surface | Decor or veneer reference, direction, colour, sheen and edge match |
| Hardware | Hole pattern, actual fit, movement and adjustment |
| Complete set | Part quantities, adjoining finish sequence and installation order |
Label and pack by installation sequence
Use room, wardrobe, bay and part IDs on components and outer packs. Protect tall door faces, finished edges and corners with stable flat support and suitable separators. Group compatible carcass parts, doors and hardware while keeping every pack traceable to the elevation and planned installation sequence.
Buyer review checklist
Before releasing a wardrobe MDF order, confirm:
- the complete elevation and site clearances are defined;
- every component family has a material, finish, edge and part code;
- tall-door dimensions and finished weight match the selected hardware option;
- hinged and sliding-door interfaces appear in controlled drawings;
- grain, pattern and texture directions are marked on elevations and parts;
- shelves, backs, drawer bottoms and service openings have complete support details;
- one representative bay verifies fit, movement and adjustment;
- visible finishes are approved as an adjoining elevation;
- inspection, labels and packing follow the installation sequence.
Prepare the wardrobe RFQ
Send the wardrobe elevations, component schedule, MDF and finish choices, face/reverse/edge construction, hardware references, finished dimensions, quantities, sample and first-bay scope, labels, packaging and destination. Use MDF for Wardrobes for application decisions, review Melamine MDF and Veneered MDF surface constructions, then request a component review.
Request an MDF quotation
Share the application, specification, quantity, packaging and destination with CUZI MDF for an order-specific review.