
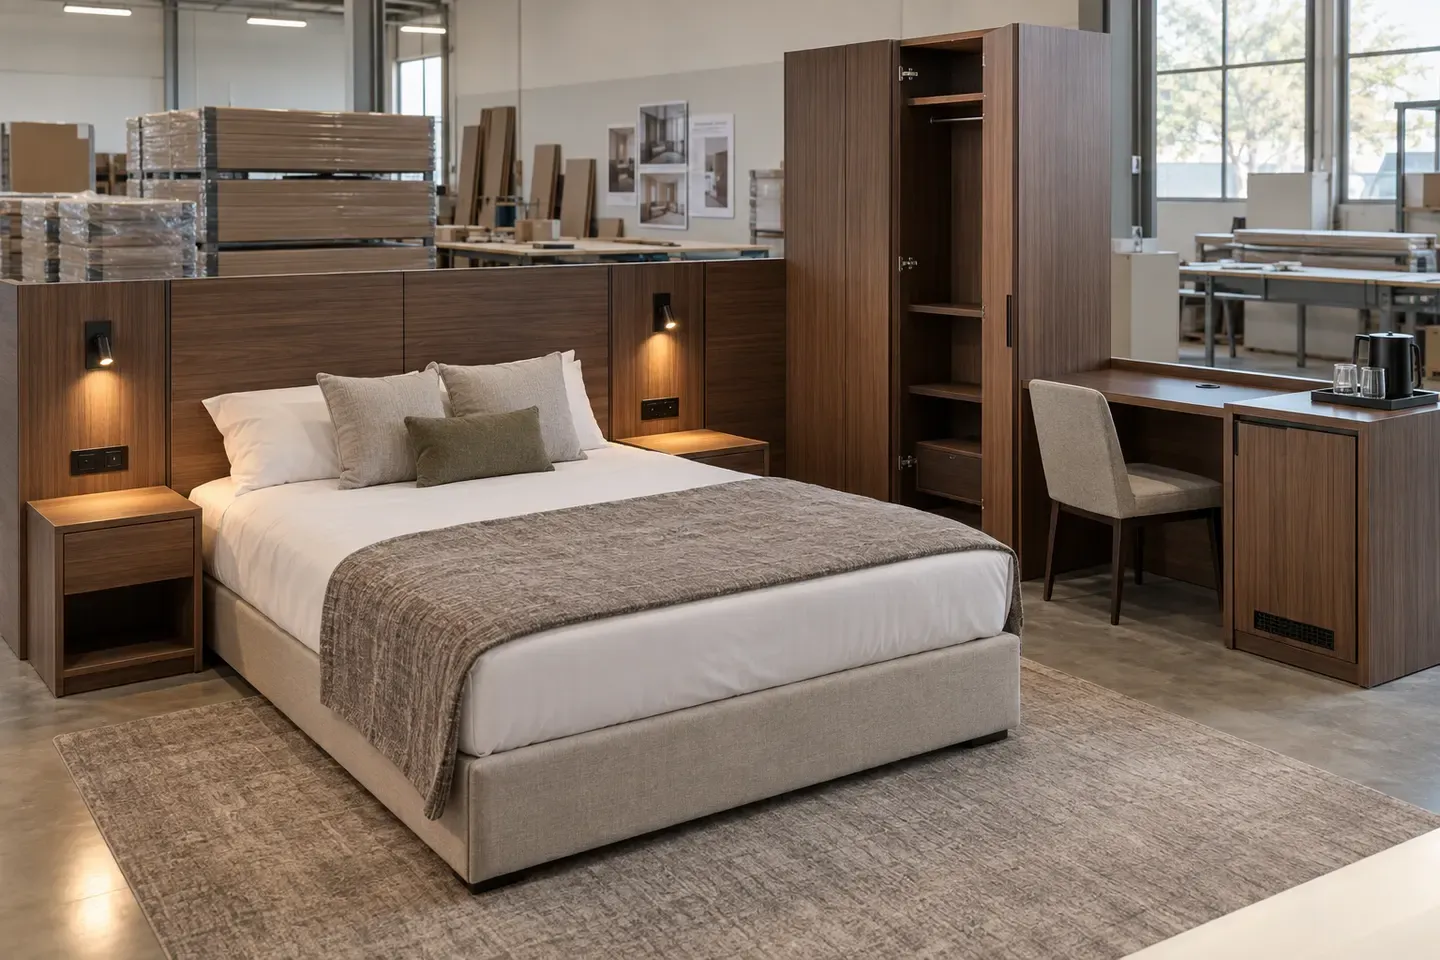
Hotel furniture procurement converts guestrooms, suites and public-area designs into repeated room packages. A controlled room-type matrix connects each component to its construction, finish, hardware, revision, mock-up decision, inspection and installation pack.
Start with the project release plan
List buildings, floors, room types, public areas, installation phases and target handover dates. Record the quantity of each room package and the approved release sequence. Connect design status, production lots and dispatch groups to the same project breakdown.
Build the room-type matrix
Separate every repeated room and furniture package.
| Room or area | Typical MDF component groups |
|---|---|
| Standard guestroom | Headboard, wardrobe, desk, bedside units, minibar and luggage unit |
| Suite | Guestroom components plus living-area storage, media unit and decorative panels |
| Accessible room | Room-specific furniture dimensions, clearances and hardware interfaces |
| Corridor or lift lobby | Wall panels, service-access panels and decorative features |
| Public area | Reception, display, storage, host station and wall modules |
Give each room type a controlled bill of materials and quantity by project phase.
Create a component and construction schedule
Break every furniture unit into repeatable part families. Assign an MDF construction code, thickness, face, reverse, edge, hardware, finished dimensions, quantity and drawing revision to each part. Use the same identity in quotations, machining files, inspection and packing.
Match materials to component conditions
Describe visible faces, guest contact, housekeeping, humidity, lighting, ventilation, hardware, service access and wet-adjacent conditions for every component. Select raw, MR, HMR, melamine, veneer, laminate, paint-grade or another reviewed construction according to the completed furniture design and applicable project requirements.
Control the finish schedule by elevation
Assign a physical sample and finish code to every visible face, reverse, edge and open interior. Map veneer sequence, grain direction, decorative pattern, gloss and adjoining materials across headboards, wardrobes, desks and wall panels. Review complete elevations under representative room lighting.
Coordinate headboards and wall interfaces
Show overall elevation, panel joints, bed location, skirting, wall support, lighting, switches, sockets, reading lights and service access. Identify removable panels and installation clearances. Carry finish direction and joint alignment through every repeated room elevation.
Coordinate wardrobes, minibars and service access
Define door type, carcass, shelf, back, hardware, ventilation, appliance opening, removable panel and cleaning access. Provide current equipment dimensions and hardware drawings. Record the visible construction inside open wardrobes and the airflow route around minibar equipment.
Coordinate desks, bedside units and cable services
Show finished dimensions, support, drawers, hardware, edge construction, cable routes, power modules and adjoining wall interfaces. Review the actual electrical or data accessory with the machined component. Keep left, right and mirrored units under distinct part identities.
Coordinate protected vanity components
Map basin, countertop, plumbing, splash, cleaning, ventilation, cut edges and floor clearance. Define face, reverse, edge and access-panel construction for each part. Connect the furniture design to the project's selected water-management and service details.
Approve a complete mock-up room
Use a representative room to review the complete visible, functional and installation result:
- furniture dimensions and room interfaces;
- veneer, colour, pattern and grain relationships;
- joints, gaps, edges and adjoining materials;
- doors, drawers, locks, runners and connectors;
- lighting, electrical, ventilation and service access;
- housekeeping and cleaning access;
- installation sequence, adjustment and site clearances;
- labels, hardware kits and pack logic.
Record each decision against the current room, component and drawing revision.
Convert mock-up decisions into released records
Update elevations, component drawings, bills of materials, physical samples, hardware schedules, service interfaces and inspection points from the accepted mock-up. Record the effective revision and project phase for every change. Keep the accepted finish and component references available for batch comparison.
Manage natural veneer and batch appearance
Define veneer species, cut, matching method, sequence, grain direction and approved natural variation. Reserve adjoining panels and door sets by room elevation where closer visual coordination is required. Compare production groups to the accepted physical range under consistent lighting.
Control repeated machining and handed parts
Use named datums for hinge cups, runners, connectors, locks, handles, cable openings and service cut-outs. Mark top, bottom, front, back, left, right and visible face. Keep mirrored components and room-specific adaptations under separate part codes through production and installation.
Plan spare and replacement parts
Identify high-contact fronts, shelves, access panels, hardware-related parts and surfaces expected to require future replacement. Record approved finish references, construction codes, drawings and hardware models. Pack project spares with traceable room-type and component identities.
Inspect first rooms and repeat batches
Use the accepted mock-up to structure project inspection.
| Inspection level | Review scope |
|---|---|
| First component | Construction, dimensions, finish, edge and machining |
| First furniture unit | Assembly, hardware, gaps, movement and service access |
| First room package | Completeness, finish coordination, labels and installation sequence |
| Repeat batch | Sampled dimensions, appearance, machining and pack contents |
| Dispatch group | Building, floor, room type, quantity and packing-list reconciliation |
Record results by room type, component, production lot and released revision.
Pack by building, floor and room
Group components by building, floor, room type, room range or installation phase. Protect high-visibility faces, finished edges, corners and veneer sequences with stable supports and suitable separators. Keep hardware kits, spare parts and pack contents traceable to the furniture unit and planned installation order.
Coordinate dispatch with site readiness
Align delivery lots with completed rooms, secure storage, lifting access and installation capacity. Record pack dimensions and handling requirements against loading docks, elevators, corridors and room entrances. Use dispatch reconciliation to confirm room-package completeness before shipment.
Buyer review checklist
Before releasing a hotel furniture MDF order, confirm:
- room types, quantities and project phases share one release matrix;
- every repeated part has a construction code, drawing and revision;
- physical samples control faces, reverses, edges and visible elevations;
- lighting, power, ventilation, plumbing and hardware use current interfaces;
- one complete mock-up room records visible, functional and installation decisions;
- veneer and decorative sequences connect to room elevations;
- handed parts and room-specific adaptations carry distinct identities;
- inspection follows first component, first unit, room package and repeat batch;
- packs follow the building, floor, room and installation sequence.
Prepare the hotel-furniture RFQ
Send the project release matrix, room-type bills of materials, elevations, component drawings, MDF constructions, finish schedule, hardware and equipment interfaces, quantities, mock-up scope, inspection plan, spare-parts requirement, packing phases and destination. Use MDF for Hotel Furniture, review Veneered MDF and Melamine MDF, then request a project review.
Request an MDF quotation
Share the application, specification, quantity, packaging and destination with CUZI MDF for an order-specific review.