
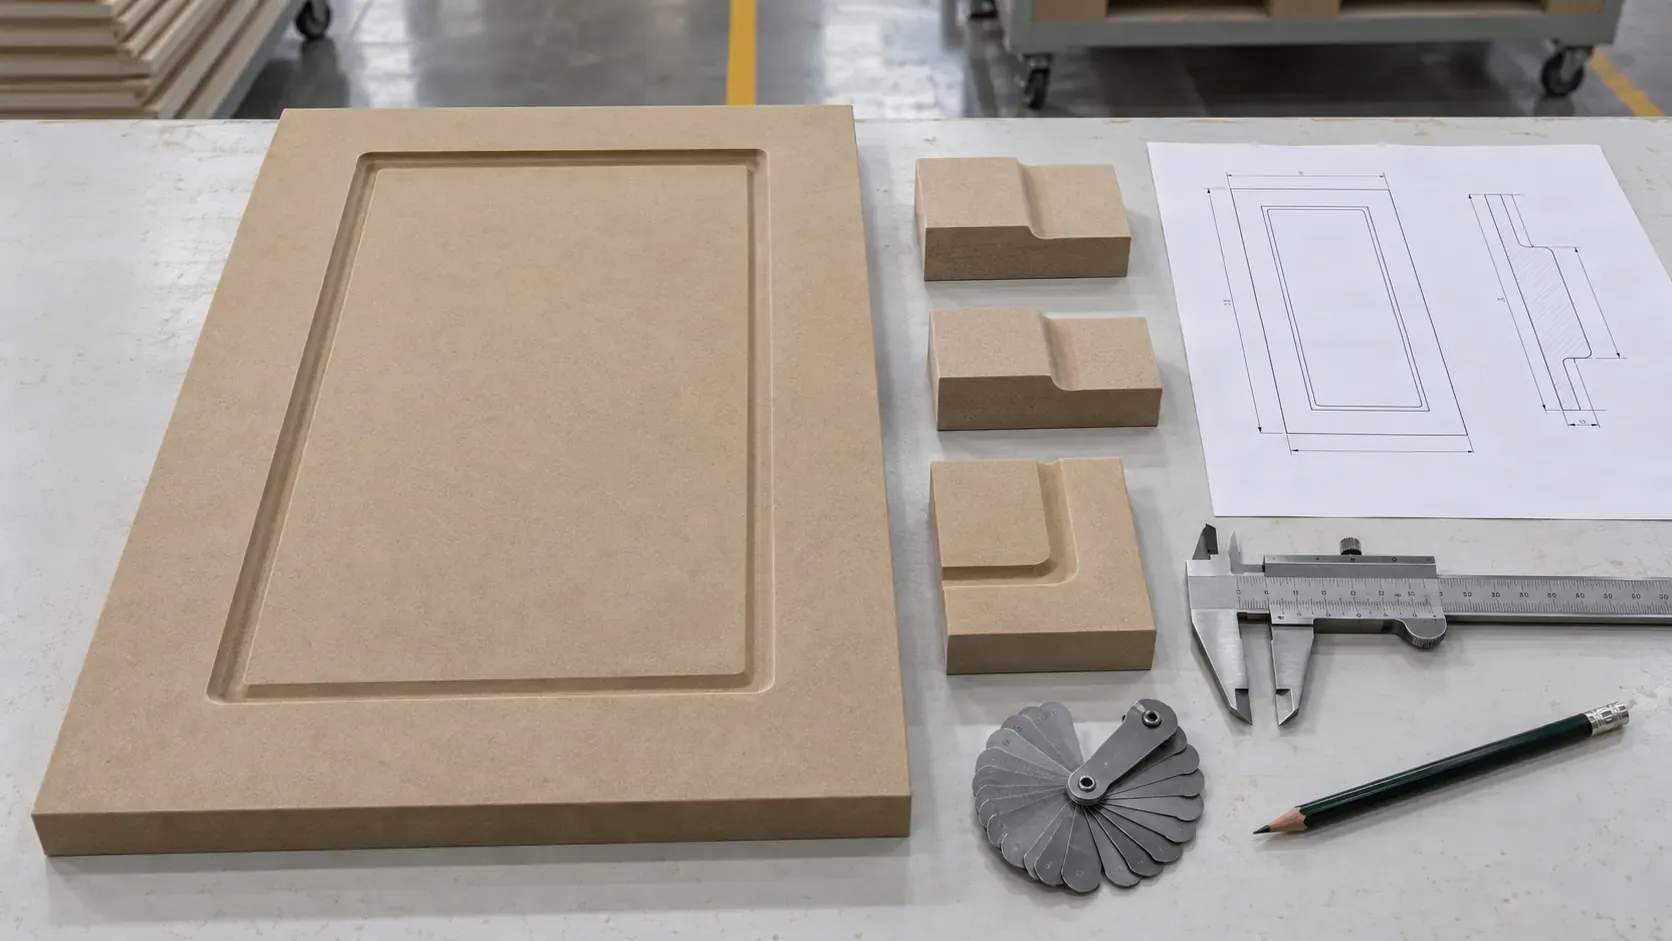
This Procurement Scenario is an educational decision model for a common sourcing situation. It presents a reusable workflow independent of any named CUZI MDF customer project, completed delivery or claimed commercial result.
A routed MDF cabinet door combines visible design, machinable geometry, substrate behaviour, finishing and hardware into one finished component. A controlled drawing and representative physical sample allow the buyer and supplier to evaluate the same door, quote the same scope and carry the accepted result into batch production.
Start with the finished door family
List every door and drawer-front size, quantity, handed condition and cabinet location. Group components that share one profile while retaining a unique part ID for each size and orientation. Record the finished thickness, face design, reverse construction, edge condition, finish construction, hinge or hardware reference and paired-door relationship. This schedule becomes the link between drawings, samples, production and packing.
Issue a controlled drawing pack
Provide a front elevation, vertical and horizontal sections, edge details and reverse-face drawing under one revision. State units, scale, datums, finished dimensions, profile widths and depths, inside radii, bevels or chamfers, remaining material, back machining, hardware holes and critical tolerances. The title block should identify the part family and current revision so every quotation and sample points to the same geometry.
Define datums and finished dimensions
Choose clear reference edges and dimension features from those datums. State overall width, height, thickness, squareness and the position of the routed design relative to the finished edges. Define whether dimensions apply before or after coating, film or another finish. Consistent datums help inspection teams reproduce measurements across different door sizes.
Control the complete routed profile
Show profile width, routing depth, slope or curve, flat areas and transition points in section. Include the deepest cut and smallest detail used anywhere in the family. A named style or front-view rendering communicates appearance; the section drawing supplies the machining geometry required for tooling, material review and quotation.
Protect the remaining MDF section
Record the material remaining beneath the deepest route and around narrow rails, corners and hardware zones. Review this section together with door size, handling, finish construction and hardware. A representative routed sample reveals the edge quality, local stiffness and profile behaviour of the proposed MDF construction before the design moves into a complete first door.
Match inside corners to the cutter radius
Every internal corner reflects an achievable tool radius. State the required radius or approve the supplier's proposed tool result on the drawing and sample. Review where straight runs enter corners and how adjoining curves meet. A small corner sample can settle this detail efficiently before full-door production.
Scale the design across every door size
Decide whether the routed border remains a fixed distance from the edge, scales proportionally, or follows a size-specific rule. Narrow doors and drawer fronts may need separate sections to preserve useful rail widths and visual balance. A size matrix should show each component, profile rule and any approved exception.
Define face, reverse and edge construction
State the principal face, back-face condition, edge preparation and supplied finishing stage. The reverse may be plain, balanced, routed or prepared for hardware according to the finished design. Identify which edges remain visible and how their preparation supports the selected paint, film, laminate or other finish system.
Select MDF for the routing and finish construction
Connect the door drawing to the exact MDF product, nominal thickness, agreed tolerance, density range and E0/E0.5/E1 destination requirement. Review the sanded face, compact edge and machined profile for the chosen downstream process. Paint, membrane pressing and other finishing processes each require a representative finished-system trial covering flats, edges, recesses and corners.
Coordinate hinges and hardware zones
Identify the exact hinge, cup diameter and depth, screw or dowel pattern, plate position, handle drilling and other hardware interfaces. Dimension them from the same door datums and show the entry face. Review the remaining material between hardware holes, routed profiles and edges. A first assembly confirms door weight, clearances, hinge movement and alignment on the intended cabinet.
Use staged physical approval
Begin with a routed profile strip or corner sample to approve geometry and machining quality. Continue with a representative door covering the most demanding profile and relevant hardware. Add the actual finish system when appearance and coating behaviour form part of acceptance. Record which attributes each sample controls, its drawing revision, material and approval date.
Inspect the first finished component
Measure overall size, thickness, squareness, profile position, route depth, radii, remaining section and hardware features against the released drawing. Review face, reverse, edges, recesses, corners and finish under the agreed viewing conditions. Fit the door to representative hardware or a sample cabinet where assembly affects the result. The recorded first component establishes the production reference.
Control batch measurements and appearance
Use an agreed sampling plan across sizes, production lots and finishing batches. Record the actual part IDs checked and the tools or gauges used for critical geometry. Compare appearance-sensitive components with the retained reference and pair adjoining doors where continuity matters. Link inspection results to drawing revision, MDF construction and pack number.
Manage drawing and sample revisions together
Maintain a revision register listing every changed dimension, profile, radius, material, finish or hardware feature. A revised drawing should identify the sample status it affects, while a newly accepted sample should point back to the drawing it represents. This keeps quotation, CNC programming, inspection and replacement production aligned with the current release.
Protect routed doors in packing
Use clean non-marking separators, flat support, protected corners and edges, controlled stack height and suitable strapping pressure. Keep routed faces clear of concentrated loads and arrange paired or handed doors in traceable groups. Labels should show purchase order, drawing revision, style, size or part ID, handedness, quantity, pack number and destination module.
Compare quotations on one approved scope
Issue the same drawing revision, size schedule, MDF construction, finishing stage, sample approval sequence, hardware scope, inspection, labels, packaging and delivery basis to each supplier. Ask quotations to show programming or tooling, sample work, machining, drilling, surface preparation, finishing, packing and quantity variation. Compare delivered cost by accepted door or complete cabinet set.
Request an MDF quotation
Send the door-size schedule, controlled elevations and sections, profile and radius requirements, MDF specification, finish construction, hardware references, sample stages, inspection priorities, paired-door rules, packing groups, destination and required dates. Use the MDF cabinet door guide for component selection, the CNC MDF specification guide for machining detail, and request a routed-door quotation review with the complete drawing pack.