
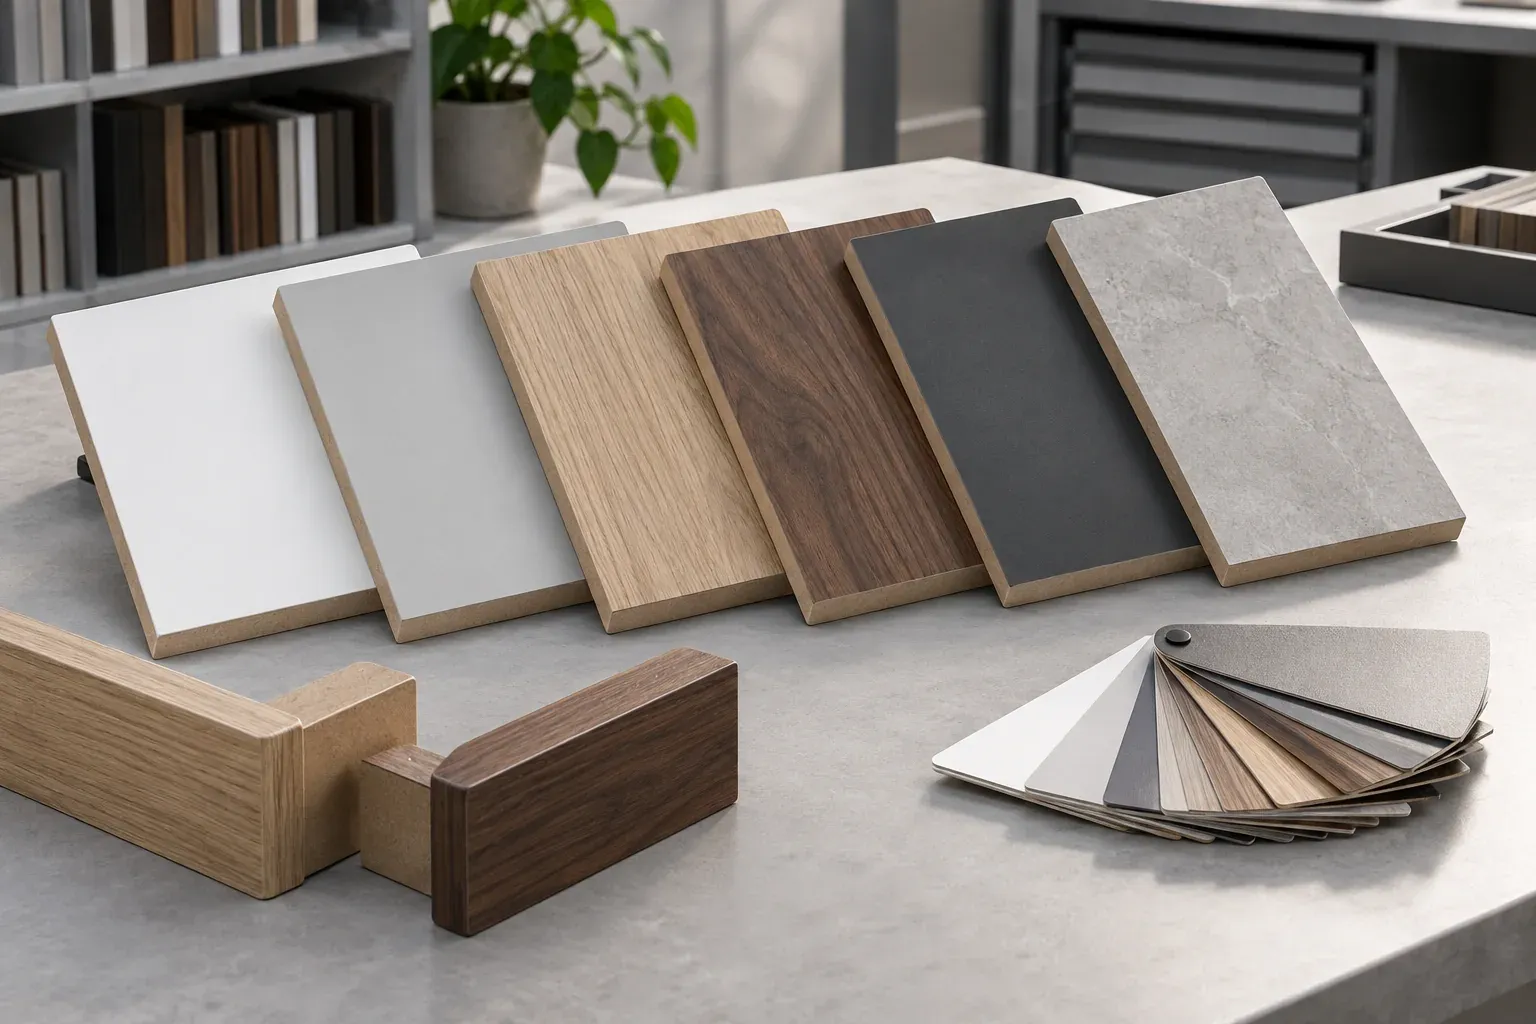
Melamine decor approval converts a visual preference into a traceable production reference. Approve colour, printed pattern, scale, texture, gloss, direction, face-to-reverse combination and edge match under agreed viewing conditions so samples, finished components and repeat orders share one basis.
Define what the approval must control
Begin with the finished component and viewing context. Identify whether the decor appears on doors, drawer fronts, shelves, worktops, wall panels or complete furniture sets; record which faces are visible and which parts meet each other. The approval scope can then cover the attributes that affect the real installation, including large-area pattern, adjoining joints and edge appearance.
Use a sample hierarchy
Each sample format answers a different purchasing question. Use a controlled set that progresses from initial selection to the finished construction.
| Reference format | Decision it supports |
|---|---|
| Decor image or digital code | Early option selection and communication |
| Small physical chip | Initial colour, texture and gloss review |
| Larger board area | Pattern scale, repeat, direction and surface uniformity |
| Edged corner | Face, edge, adhesive line and corner appearance |
| First component | Machining, dimensions, direction and finished quality |
| Adjoining assembly set | Continuity, pairing, joints and installed visual effect |
Create one traceable approval record
Assign a unique sample ID and record the supplier decor code, physical sample size, texture, gloss, face and reverse construction, direction, date and approver. Link the same ID to the quotation, purchase order, component drawings, inspection plan and retained sample. Photographs can document the process while the identified physical reference carries the production decision.
Review colour under controlled lighting
Compare samples under lighting representative of the completed furniture or interior and add a neutral inspection light when consistent receiving checks are required. Record the light source, approximate colour temperature where known, viewing angle, surrounding finishes and sample orientation. Reviewing under more than one relevant light reveals metamerism, where two colours appear close under one light and different under another.
Separate colour, print, texture and gloss
Record every visible attribute independently so the approval preserves each distinct surface decision.
| Attribute | Approval decision |
|---|---|
| Base colour | Accepted physical colour and comparison condition |
| Printed pattern | Character, contrast, scale and repeat behaviour |
| Texture | Embossing form, depth, touch and relationship to the print |
| Gloss | Reflection level and appearance across the component |
| Direction | Component edge that defines the pattern orientation |
| Face and reverse | Approved two-sided construction and visibility |
| Edge | Colour, texture, gloss and finished-corner match |
Evaluate pattern scale and repeat on a larger area
Woodgrain, stone, textile and abstract prints can look different on a chip and on a door or wall panel. Review enough surface area to see the repeat, tonal movement, feature distribution and the relationship between adjoining components. Use elevations or part layouts to define where pattern continuity, deliberate variation or sequence matching supports the design.
Approve texture and gloss as a pair
Texture changes touch, shadow and cleaning behaviour, while gloss changes reflection and perceived colour. Review both on the same physical construction and in the intended orientation. For embossed woodgrain or registered textures, record the required relationship between print and surface structure and use the accepted sample as the practical reference.
Map direction to every relevant part
Mark the top edge, visible face and grain or pattern direction on elevations, cut lists and labels. Identify paired doors, mirrored pieces, end panels and continuous runs. Carry the same arrows and part IDs into nesting, machining and packing so the approved visual plan remains visible throughout production and assembly.
Approve face, reverse and edge together
Confirm the principal face and reverse decor as one two-sided construction. Add the selected edge material and review a completed corner under the agreed lighting. Record edge colour, thickness, texture, gloss, joint appearance and treated sides, then connect the finished corner to the relevant component and sample IDs.
Set the comparison method and acceptance range
Define how production samples will be placed, oriented, lit and viewed beside the approved reference. Master and limit samples can describe the accepted visual range where the project needs closer control. If instrumental colour measurement forms part of the order, record the instrument conditions, measurement method and project-specific acceptance values in the inspection plan.
Approve first panels and representative components
Check the first panels for decor identity, face and reverse construction, texture, gloss, direction, surface condition and edge match. Review first components after cutting, machining and edge application, then place adjoining parts together where continuity and joints matter. Record the result against the released drawings and sample IDs.
Inspect the production batch consistently
Select samples across the production batch and compare them using the approved setup. Record decor and batch codes, part IDs, sample locations and inspection results. Receiving inspection can use the same physical reference, lighting and orientation so the buyer and supplier evaluate the shipment through a shared method.
Plan repeat orders and replacement parts
Retain the approved sample ID, decor source, batch information and component direction in the order history. For later replacements, compare the available decor against the retained reference and the surrounding installed parts. A newly accepted sample and revision can document any approved change before additional production begins.
Store approved references correctly
Keep retained samples clean, flat, labelled and protected from sunlight, moisture, abrasion and contamination. Record the storage location and reference condition. When a sample ages, becomes damaged or the decor source changes, establish a fresh controlled reference linked to the earlier approval history.
Buyer review checklist
Before approving a melamine decor, confirm:
- the finished component, visible faces and adjoining parts are identified;
- the sample set includes enough area to assess pattern scale and repeat;
- colour is reviewed under documented lighting and orientation;
- print, texture and gloss are recorded as separate attributes;
- face, reverse and edge form one approved construction;
- directional parts, pairs and continuous runs are mapped;
- the comparison method and any accepted visual range are documented;
- first panels and representative components are linked to the sample ID;
- production, receiving, repeat-order and retained-sample records use the same reference.
Request an MDF quotation
Send the decor options, desired texture and gloss, component elevations, direction map, face and reverse requirements, edge references, quantities and destination. Use the How to Specify Melamine MDF guide for the complete purchasing specification, review construction options on the Melamine MDF product page, then request a decor sample and quotation review.