
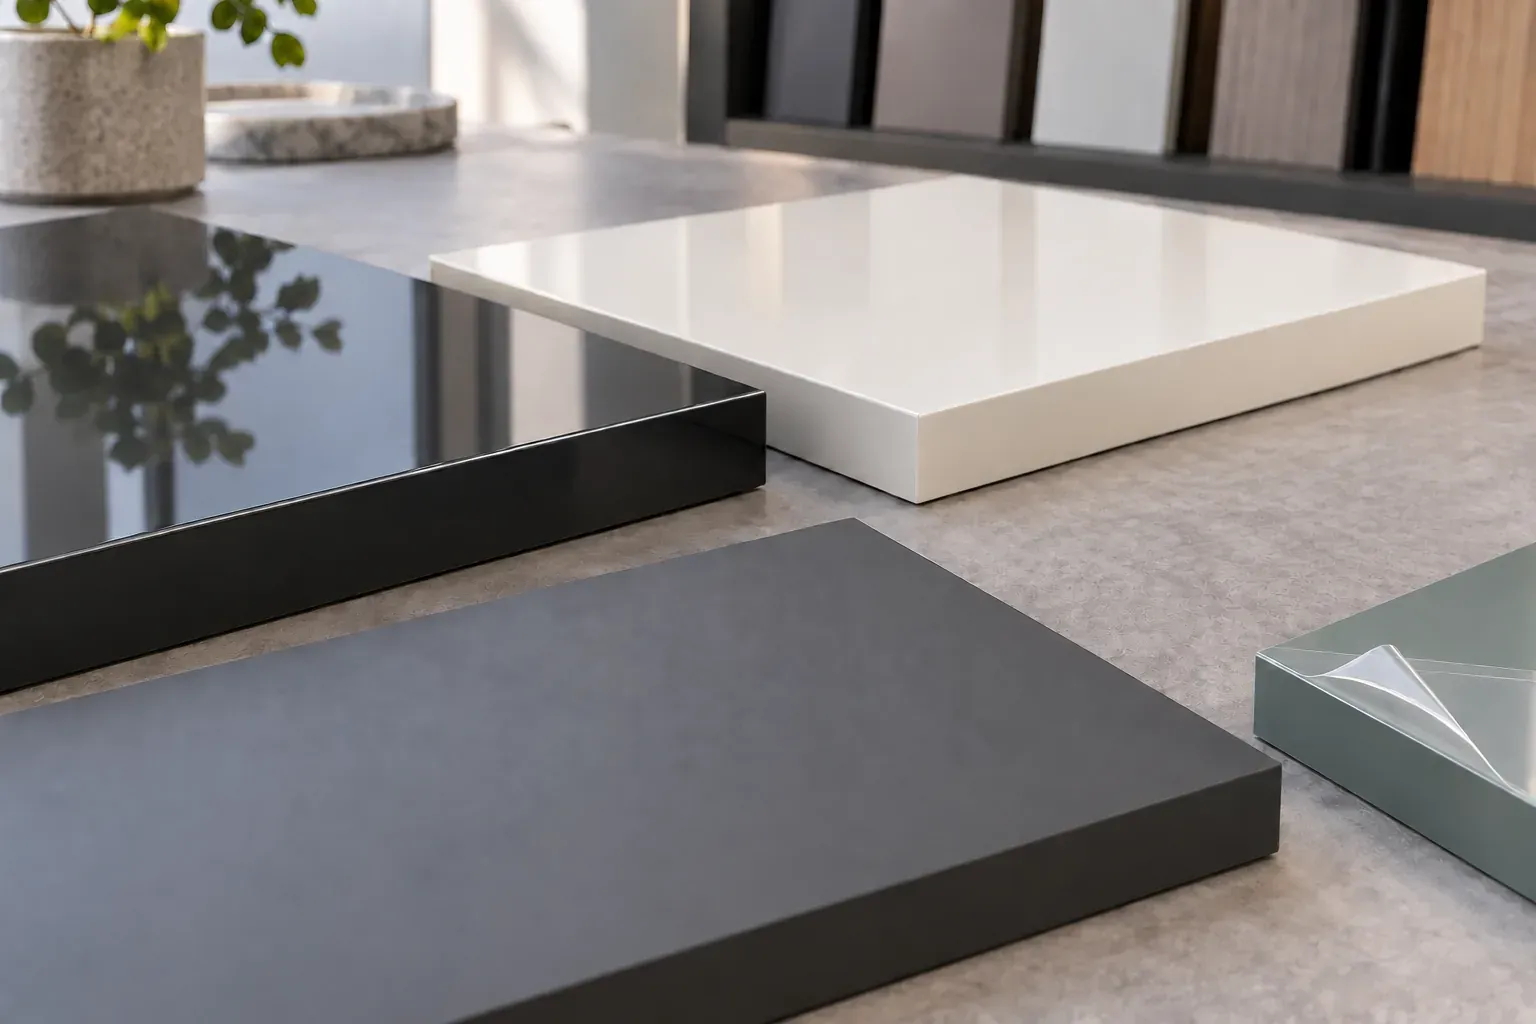
Acrylic-faced MDF selection combines the visible surface, MDF core, reverse construction, finished edges, machining and protective-film plan. Buyers should approve gloss or matte appearance on a physical component under relevant lighting, then carry that reference through first production, packing and repeat orders.
Define acrylic-faced MDF by its complete construction
Record the acrylic surface category and reference, MDF substrate, bonding process, reverse layer, total thickness and delivery stage. State whether supply covers full sheets, cut panels, edge-banded fronts, drilled components or assembly-ready parts. The same construction should appear on the quotation, sample record and purchase order.
Separate acrylic-faced MDF from other smooth finishes
Use the actual surface material and construction in the purchase description.
| Surface construction | Main identity to record |
|---|---|
| Acrylic-faced MDF | Acrylic layer or sheet, MDF core, reverse layer and finished edge |
| Painted MDF | MDF preparation, primer, topcoat system, colour and sheen |
| PET or PVC-faced MDF | Identified film, pressing process, substrate and face/reverse construction |
This keeps colour and sheen comparisons connected to the correct manufacturing process.
Choose gloss or matte by the finished application
Review visual behaviour, touch and maintenance in the installed setting.
| Attribute | High-gloss review | Matte review |
|---|---|---|
| Reflection | Image clarity, line straightness, surface flatness and room-light reflections | Even low reflection and consistent viewing angle |
| Touch | Handling marks, cleaning response and surface feel | Fingerprint appearance, touch quality and recovery after cleaning |
| Colour | Depth in direct and ambient light | Colour stability across broad viewing angles |
| Edge | Matching gloss, colour and joint line | Matching texture, sheen and corner transition |
Specify the acrylic surface through a physical reference
Record supplier or range where available, sample ID, colour, gloss or matte category, texture, pattern direction and accepted variation. View the sample beside adjoining materials and at the intended vertical or horizontal orientation. Keep one approved sample protected as the repeat-order reference.
Select the MDF core and reverse layer
State MDF product, nominal thickness, density expectation, dimensions, tolerance and emission class. Define the reverse layer by material, colour and visible requirement. Coordinate face and reverse construction with component size, hardware, storage and the finished application's flatness expectations.
Control core thickness and finished panel thickness
Acrylic face, bonding layer and reverse construction contribute to total thickness. Mark whether drawings, hinge positions, edge dimensions and assembly clearances use substrate thickness or finished thickness. Record the measurement condition and tolerance for full panels and processed components.
Approve reflection quality at component scale
Gloss surfaces reveal light lines, adjoining objects and panel geometry. Review a representative full-size front or the largest practical sample in the intended orientation. Use broad linear lighting and normal room light to assess image clarity, visible waviness, colour depth and consistency between adjacent components.
Approve matte touch and cleaning behaviour
Review the matte face for sheen consistency, fingerprint appearance, tactile quality and cleaning response using the intended care method. Compare the cleaned area with untouched surroundings under side lighting. Record the approved surface and cleaning reference with the sample.
Design the finished edge and corner
Choose the edge construction for every visible side.
| Edge decision | Information to approve |
|---|---|
| Matching edge band | Material, thickness, colour, gloss or matte level and joint line |
| Contrasting edge | Colour, width, corner treatment and design relationship |
| Handle or finger-pull profile | Section, visible substrate, edge finish and touch points |
| Cut-out or drilled opening | Surface protection, exposed edge treatment and finished geometry |
Coordinate cutting, drilling and routing
Issue controlled cut lists and drawings with face orientation, dimensions, holes, cut-outs, handle profiles and edge constructions. Use clean support, suitable tooling and controlled chip removal around the acrylic face. Inspect a first processed part for dimensions, surface marks, chipping, edge joints and hardware fit.
Manage protective film by inspection stage
Record which faces carry removable protective film, whether processing occurs through the film, and when visual inspection and final removal take place. Keep film type and removal guidance with the order. Receiving teams should have access to an agreed inspection area before installation.
Inspect the uncovered surface consistently
Use defined lighting, viewing distance and clean handling during final inspection.
| Area | Condition to review |
|---|---|
| Broad face | Colour, sheen, reflection, cleanliness, inclusions and surface marks |
| Edge and corner | Joint line, colour match, gloss or matte transition and trimming |
| Machined feature | Chipping, protective-film edge, profile finish and hardware fit |
| Adjoining pair | Colour, sheen, reflection and alignment across the installed gap |
Match the surface to use and maintenance
Describe the protected-interior component, expected touch frequency, nearby heat, sunlight, humidity and cleaning products. Review current surface and adhesive information for those conditions. Include handles, finger pulls and frequently touched edges in the physical sample and care review.
Approve a first component set
Compare the first production parts with the approved surface sample, construction schedule and drawings. Place paired doors or drawer fronts together in their installed orientation. Record colour, sheen, edge quality, machining, hardware fit, protective-film condition and part identity before repeat production.
Plan repeat orders and replacement fronts
Retain the surface reference, approved sample, layer schedule, edge material, part drawing and production lot information. A later order can compare the current physical sample with the retained reference and nearby installed parts. Record an updated approval when the surface or edge batch changes.
Pack high-finish components for clean removal
Use clean soft separators, protected corners, flat supports and stable bundle heights. Group parts by colour, room, cabinet or assembly sequence. Place labels where receivers can identify parts while the protective film remains intact, and define the film-removal stage in the packing or receiving instructions.
Buyer review checklist
Before releasing an acrylic MDF order, confirm:
- the acrylic surface category, reference and physical sample are identified;
- gloss or matte appearance is reviewed under relevant lighting;
- MDF core, reverse layer and total construction are recorded;
- core thickness and finished thickness are clearly separated;
- every edge, corner, cut-out and handle profile has an approved detail;
- face direction, cutting and drilling use one controlled drawing revision;
- protective-film stages and uncovered-surface inspection are defined;
- the first component set includes adjoining parts and hardware fit;
- packing, repeat-order records and cleaning guidance preserve the accepted finish.
Request an MDF quotation
Send the acrylic surface reference and sample ID, gloss or matte choice, MDF core, reverse layer, finished dimensions, edge and machining drawings, quantity, first-set requirement, protective-film plan, inspection, packaging and destination. Review the current scope on Acrylic Faced MDF, then request a surface and component quotation.