
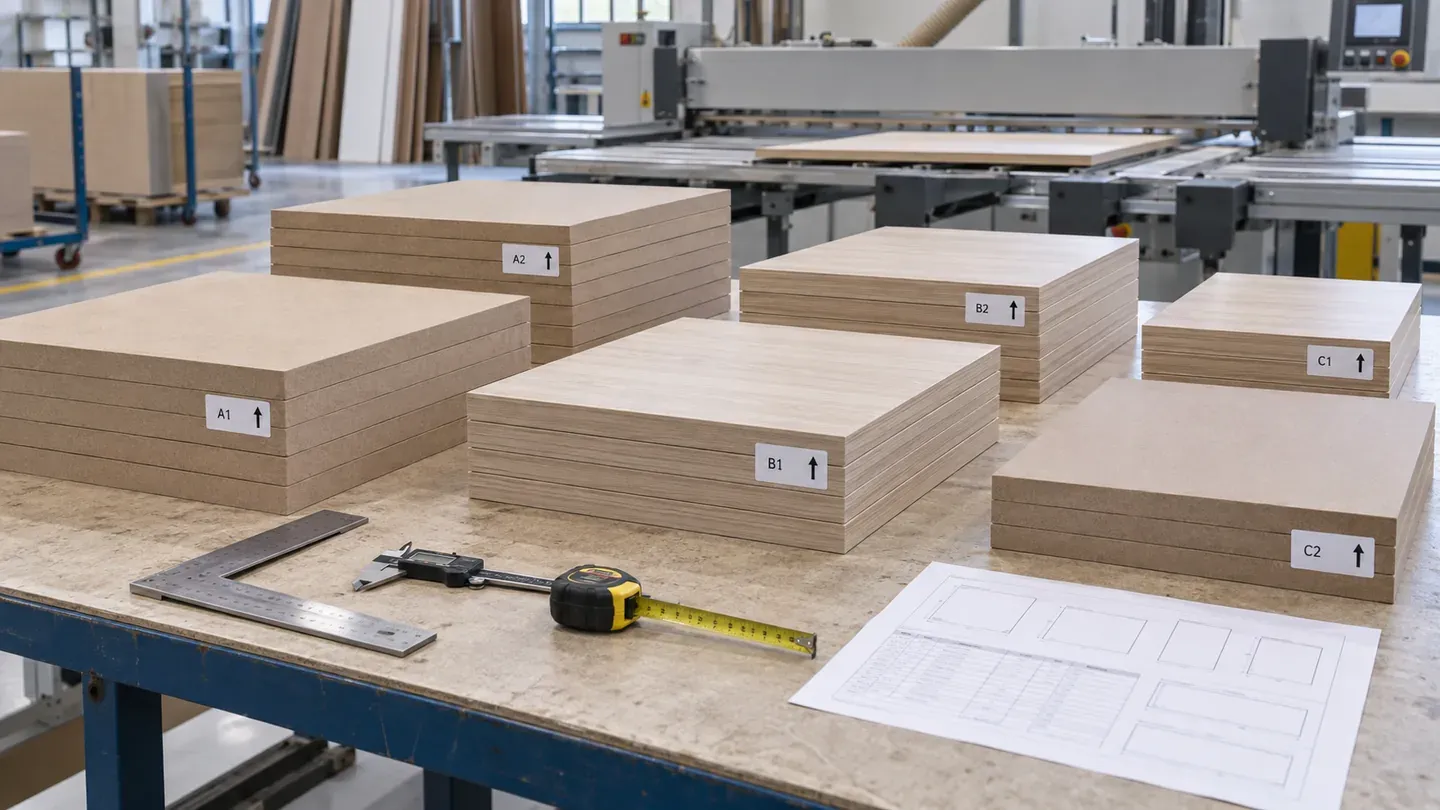
A production-ready cut-to-size MDF inquiry connects every finished rectangular part to its MDF construction, face orientation, dimensional basis, quantity, edge treatment, identification and packing sequence. This guide prepares that information for comparable quotations, first-part approval and batch receiving.
Define the cut-to-size supply scope
Begin with the condition in which the parts should arrive: rectangular panels cut to finished length and width, or parts that also require sanding, edge treatment, labels, kits and protective packing. State the selected raw, melamine-faced, veneered or laminated MDF construction and identify the visible face, reverse face and final application. This gives suppliers the same commercial scope before they calculate material yield and processing cost.
Separate input board formats from finished component sizes
Record the available source-board format as production input and the required component dimensions as finished output. The cut list controls each delivered part; the supplier’s cutting plan accounts for edge trimming, saw kerf and usable board area. When oversized MDF or a special board format improves yield, compare the proposed input format against handling, surface availability and order quantity.
Build one controlled cut list
Assign one row to every unique part and use the same part ID in drawings, labels, inspection records and packing lists.
| Cut-list field | Information to confirm |
|---|---|
| Part ID | Stable code linked to the drawing and assembly |
| Material code | MDF type, thickness, emission class and face construction |
| Finished size | Length × width with stated units and dimension basis |
| Quantity | Order quantity and separately identified spare quantity |
| Orientation | Visible face, top edge and grain or decor direction |
| Edge schedule | Edges for banding, sanding, sealing or exposure |
| Kit or location | Cabinet, room, elevation or assembly group |
| Revision | Released cut-list and drawing revision |
State the dimension convention and tolerance
Use one length × width convention throughout the cut list and drawings, with units stated in the header and repeated where mixed documents could create ambiguity. Identify the datum edges used for measurement and any parts whose orientation changes the meaning of length and width. Define tolerances according to assembly fit, edge finishing and the capability confirmed for the selected MDF construction; the quotation should record the accepted tolerance basis.
Connect finished dimensions to edge treatment
State whether the scheduled length and width describe the MDF core before edge application or the completed part after edge banding, wrapping or another treatment. Mark every treated edge, its material reference, nominal thickness, colour and joint detail. For exposed MDF edges, specify the required sanding or sealing condition and the appearance standard expected at delivery.
Control grain, decor and face orientation
Show grain or pattern direction with an arrow tied to the part ID. Identify top, bottom, visible face and reverse face for directional melamine, veneer, laminate and brushed finishes. Pair left and right parts explicitly, and assign sequence positions for matched doors, continuous wall panels or repeated furniture elevations. The approved orientation then becomes a fixed constraint in the nesting plan.
Separate rectangular and CNC parts correctly
Straight rectangular parts fit the cut-to-size process. Curves, holes, pockets, grooves, rebates, profiles and shaped corners require controlled machining data and belong in the CNC processing scope. Use the CNC MDF specification guide and the CNC MDF processing page when the component includes those features, while the cut list remains the shared source for material, quantity and part identity.
Define the required cut quality
Describe the acceptance points that affect assembly and finishing: dimensional consistency, squareness, straight edges, clean corners, surface protection and edge condition. A painted or exposed edge may require a finer delivered condition than an edge that proceeds directly to banding. For faced boards, include chipping, scratching, pressure marks and surface contamination in the inspection scope.
Review nesting and board-yield assumptions
Ask the supplier to identify the source-board format, usable area, perimeter trim, cutting allowance, orientation restrictions and the basis used to calculate consumption. Compare yield proposals through accepted finished parts per input board and total material volume. Any suggested rotation, common-size adjustment or material substitution should return to the cut list and finish schedule for documented acceptance.
Control quantities, spares and revisions
Separate ordered production pieces from setup pieces, inspection samples and customer-approved spares. Record each cut-list revision with its release date and keep superseded dimensions out of the production file. When a part changes, update its drawing, cut-list row, quantity, label data and kit assignment together so purchasing, production and receiving use the same revision.
Approve a first part or representative assembly set
Inspect the first cut parts for material identity, thickness, finished dimensions, squareness, face direction, edge schedule and label accuracy. Where several parts fit together, assemble a representative cabinet, frame or panel set to evaluate cumulative dimensional effects. Record the accepted measurements and any correction in the released production documents before batch cutting continues.
Plan batch inspection and count reconciliation
Use a sampling plan that reflects part variety, quantity and assembly risk. Inspection records should connect measured parts to their IDs, production batch and cut-list revision. Reconcile ordered, produced, accepted, spare and packed quantities for every part code, and place the final count on the packing list used at destination receiving.
Design labels around the buyer’s workflow
Labels can carry the purchase order, project, room or cabinet, part ID, dimensions, quantity, orientation arrow, revision and package number. Position labels where they remain readable while preserving visible surfaces. A consistent label hierarchy lets the receiving team sort parts by assembly sequence and trace a discrepancy back to the relevant cut-list row.
Specify kit packing and transport protection
Choose packing groups by cabinet, room, elevation, product set or installation sequence. Use clean separators for decorative faces, stable support beneath the parts, protected corners and edges, moisture protection suited to the route, and bundle limits compatible with the planned handling equipment. State bundle dimensions, net and gross weight, package count and the relationship between every package and the packing list.
Buyer review checklist
Before releasing a cut-to-size MDF order, confirm:
- the exact MDF construction, thickness, emission class and surface combination;
- source-board format and finished component dimensions are identified separately;
- every part has a stable ID, quantity, revision and named units;
- the length × width convention, datum edges and accepted tolerances are clear;
- visible face, reverse face, top edge and grain or decor direction are marked;
- edge treatment and the before-or-after dimension basis are defined;
- rectangular cutting and CNC operations are assigned to the correct scope;
- first-part or representative-assembly approval is documented;
- inspection, labels, kit sequence, spare quantities and packing match the receiving plan.
Request an MDF quotation
Send the controlled cut list, drawings, MDF and surface references, edge schedule, quantities, tolerance requirements, first-part plan, label fields, packing sequence and destination. Review the current supply scope on the Cut-to-Size MDF product page, then request a cut-list and quotation review.