
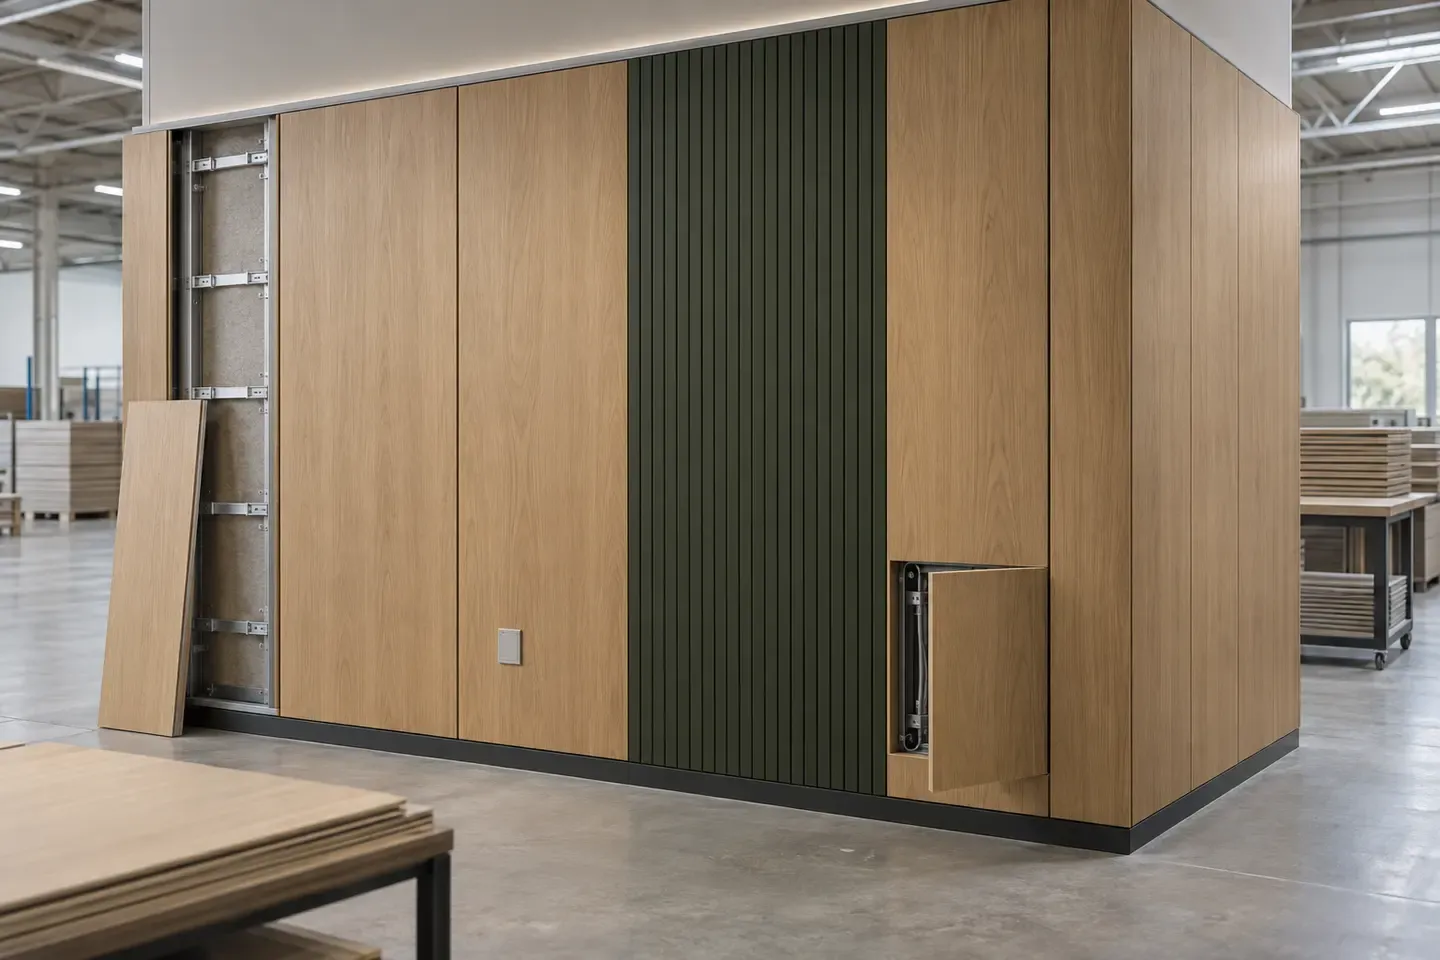
Interior MDF wall panels form a complete elevation built from coordinated modules. The panel schedule connects every module to its substrate, face, reverse, edge, joint, fixing zone, service opening, finish direction, revision and installation position.
Start with the complete wall elevation
Show overall wall dimensions, panel grid, datum, floor and ceiling lines, doors, windows, openings, corners, returns and adjoining materials. Assign every panel a module ID, visible face and top direction. Use the elevation as the shared reference for design, production, inspection and installation.
Create the wall-panel module schedule
Translate the elevation into controlled module families.
| Module family | Information to define |
|---|---|
| Standard field panel | Finished size, construction, finish, direction, joints and fixing zones |
| Corner or return panel | Inside or outside geometry, edge construction, joint and adjoining finish |
| Door or opening panel | Jamb, head, return, clearance and interface dimensions |
| Service panel | Device cut-outs, access method, ventilation and removable fixings |
| Grooved or feature panel | Pattern origin, pitch, edge margin, joints and finish build |
| Filler or end panel | Site dimension, scribe allowance, final edge and transition |
Keep the module ID consistent across elevations, sections, cutting files, labels and pack lists.
Describe the room and wall conditions
Record protected-interior humidity, cleaning, touch zones, lighting, heat sources, impact areas and adjoining wet or service zones. Map wall construction, floor and ceiling tolerances, skirtings and nearby trades. These conditions guide the panel construction and installation details.
Specify the complete panel construction
Record MDF product, thickness, finished module size, face material, reverse material, edge construction, finish and supplied processing stage. Distinguish factory-finished panels, paint-ready panels, veneered modules, decorative faced panels and routed components through clear construction codes.
Define the support and fixing plane
Record backing, framing, wall condition, rails, clips, brackets, adhesive zones or other selected interfaces. Show support locations, service zones and removable areas on the drawings. The project designer establishes the completed wall assembly, anchoring, movement, structural and installation requirements.
Resolve recurring joints and transitions
Detail every boundary that repeats across the elevation.
| Boundary | Drawing decision |
|---|---|
| Panel to panel | Gap, shadow line, trim, tongue detail or flush joint |
| Floor and ceiling | Clearance, skirting, reveal, head track or trim |
| Door or window | Jamb, head, sill, return and alignment datum |
| Device penetration | Cut-out, clearance, finished edge and removable access |
| Material transition | Alignment and joint with stone, metal, glass, fabric or plaster |
| End of elevation | Filler, scribe, end return or finished exposed edge |
Detail inside corners, outside corners and returns
Show whether each corner uses a returned panel, mitre, trim, separate corner element or expressed joint. Define grain or pattern continuation, edge treatment and installation sequence. Review a physical corner sample where appearance and touch quality are prominent.
Coordinate openings, devices and access panels
Locate switches, outlets, lighting, ventilation, speakers, controls, access doors and removable modules from common datums. Record cut-out size, clearance, finished edge, device depth and fixing method. Keep service-related modules distinct in drawings, labels and packing.
Control veneer, pattern and gloss direction
Map veneer grain, decorative pattern, grooves and gloss orientation across the complete elevation. Identify panel sequence and the approved range of natural variation. Review adjoining modules under representative lighting so direction, colour, reflection and joint rhythm can be assessed at wall scale.
Define grooves, relief and repeated features
Issue front and section drawings showing pattern origin, groove width, depth, pitch, direction, radii, edge margin and remaining material. Coordinate the pattern across panel joints and openings. Include the expected coating or face material in the representative sample.
Coordinate panel size, handling and installation access
Relate module dimensions and finished weight to workshop handling, transport, site entrances, elevators, lifting positions and installation crew access. Identify large or fragile modules and define stable lifting and temporary support points in the project method.
Confirm fire and other project test reports and certificates
State the required classification, test method, product or complete-system scope and destination requirement. Compare current supporting documents with the proposed MDF construction, finish, fixing and wall assembly. Keep the accepted record or document reference with the project release records.
Approve a representative wall bay
Build adjoining modules that contain the main design conditions. Review:
- support and selected fixing interface;
- panel grid, joints, corners and end transitions;
- openings, devices and removable access;
- veneer, pattern, groove and gloss continuity;
- edge finish and adjoining materials;
- installation sequence and adjustment;
- representative lighting and viewing distance.
Record the accepted modules, samples and drawing revisions before repeat production.
Convert the sample bay into released records
Update elevations, sections, module schedules, machining files, physical finish references and inspection points from the accepted bay. Record the effective revision and affected wall or project phase for every change. Use one released set for production, inspection and packing.
Inspect modules and assembled relationships
Connect inspection to the elevation and module identity.
| Inspection area | Review point |
|---|---|
| Construction | MDF, face, reverse, edge, finish and thickness |
| Geometry | Finished size, squareness, corner and opening position |
| Machining | Grooves, cut-outs, fixing points and top direction |
| Appearance | Colour, grain, pattern, gloss and adjoining-panel continuity |
| Trial assembly | Joint width, corner return, device fit and removal access |
| Identification | Wall, grid, module, revision, quantity and pack |
Label and pack by elevation
Use project, level, room, wall, grid and module IDs. Pack in installation order with clean face separators, protected edges, stable supports and visible orientation. Keep service panels, corner modules, hardware and trims traceable to the corresponding elevation and pack contents list.
Buyer review checklist
Before releasing an interior MDF wall-panel order, confirm:
- the complete elevation controls every module and boundary;
- substrate, face, reverse, edge and finish use construction codes;
- support and fixing zones match the released wall assembly;
- joints, corners, openings and transitions have section details;
- veneer, pattern, grooves and gloss follow an elevation map;
- service devices and access panels use current interface drawings;
- required project document matches the proposed construction and scope;
- one representative bay verifies appearance and installation;
- labels and packs follow the elevation sequence.
Prepare the wall-panel RFQ
Send elevations, sections, module schedule, room conditions, MDF constructions, finishes, edges, joints, support and fixing interface, service openings, required documents, quantity, sample-bay scope, inspection, packaging and destination. Use MDF for Interior Wall Panels, review Veneered MDF and Grooved MDF Panels, then request an elevation review.
Request an MDF quotation
Share the application, specification, quantity, packaging and destination with CUZI MDF for an order-specific review.