
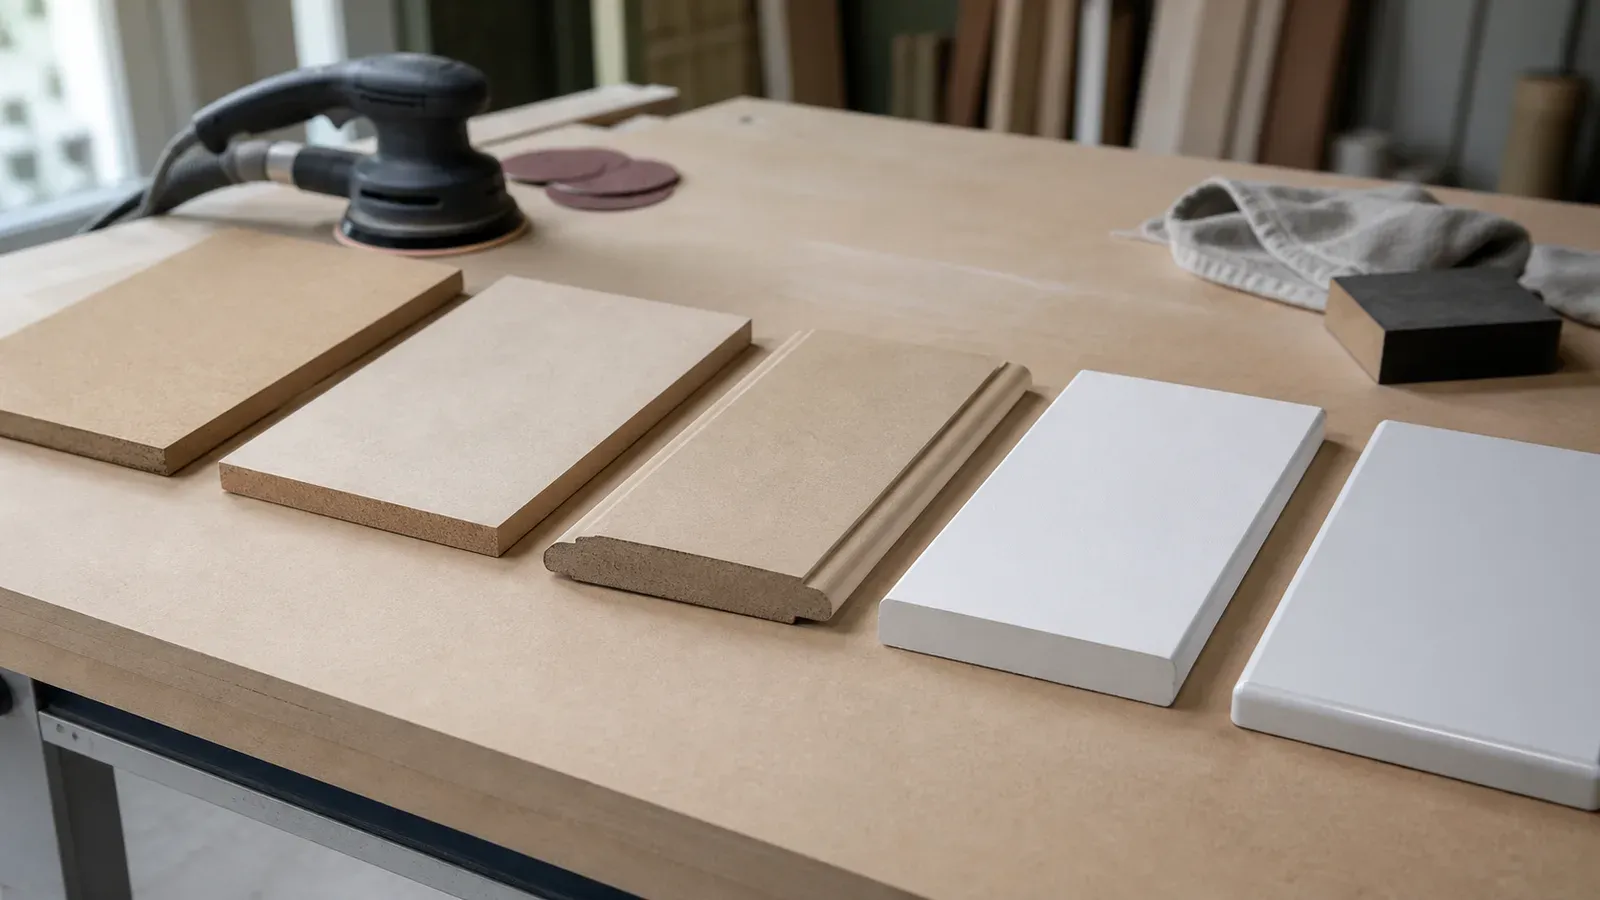
The suitable MDF for painting is the substrate that produces the required finish across the factory-sanded face, cut edge, routed profile and drilled area through the selected preparation, primer and topcoat system. Qualify that complete construction on a representative component before repeat production.
Choose the required supply stage
The phrase paint grade should lead to a clearly defined supplied condition.
| Supply stage | Buyer receives | Main approval point |
|---|---|---|
| Paint Grade MDF full sheet | Smooth sanded MDF substrate selected for the coating process | Board identity, thickness, face condition and coating trial |
| Cut or routed uncoated component | Machined MDF part ready for the agreed preparation process | Geometry, raw face, edge and profile quality |
| Primed component | Machined part with the confirmed sealer or primer stage | Coverage, sanding condition and readiness for topcoat |
| Finished painted component | Complete substrate, preparation, primer, topcoat and cure route | Colour, gloss, face, edge, profile and handling performance |
The quotation, sample and purchase order should use the same supply stage. Paint Grade MDF board supply currently has an indicative planning range of **US$157–258 per m³**. Priming, finished coating, component machining and packing are quoted from the confirmed scope.
Match the MDF option to the painted component
Select the product and processing method through the geometry that receives paint.
| Painted component | Useful purchasing option | Trial focus |
|---|---|---|
| Flat furniture panel | Paint Grade MDF or Sanded MDF full sheet | Broad-face smoothness, edge sealing and colour or gloss consistency |
| Routed cabinet door | Routed MDF Cabinet Door or drawing-controlled machined component | Profile definition, inside corners, edge preparation and complete coating build |
| Cut furniture part | Sanded or Paint Grade MDF with controlled cutting | Sawn edge, holes, cut-outs, preparation sequence and finished fit |
| Large-format visible panel | Confirmed MDF format plus complete coating process | Handling marks, face uniformity, joining plan and protected packing |
| Repeated painted component | Approved MDF, machining program and coating-system record | First article, batch consistency, part identification and replacement reference |
The product name begins the discussion. The released component, supplied condition and accepted coating trial define the order.
Specify the substrate before the paint system
Record MDF product identity, 2–35 mm input thickness, board format, thickness-based density, E0, E0.5 or E1 requirement, supplied sanding condition and intended component. The drawing should identify front and reverse faces, visible edges, routed depths, hardware openings and minimum remaining sections. This connects the substrate with the actual paint area and gives the coating provider a stable basis for the preparation and application trial.
Inspect the component before coating
Use production tooling to create a representative uncoated part and inspect each surface separately.
| Area | What the raw inspection establishes |
|---|---|
| Factory-sanded face | Cleanliness, sanding marks, scratches and uniformity |
| Sawn edge | Fibre condition, straightness and visible tool marks |
| Routed profile | Cutter quality, profile accuracy, internal radius and remaining section |
| Inside corner or narrow groove | Tool access and later coating access |
| Hinge cup, handle hole or cut-out | Edge quality and preparation around hardware features |
Record raw-part findings before the finishing trial. This keeps machining improvements, preparation changes and coating adjustments traceable to their own production stages.
Separate substrate, machining and finishing variables
Record observations at the stage where they first become visible. This gives each adjustment a clear owner.
| Observation | First review stage | Main variables to review |
|---|---|---|
| Face scratches or sanding lines | Uncoated board or machined part | Incoming surface, storage, handling and sanding condition |
| Torn or fuzzy cut edge | Machined part | Tool condition, feed, support and edge-preparation process |
| Soft profile detail | Finished trial | Routed geometry, primer or sealer build, sanding and topcoat build |
| Gloss or colour variation | Finished trial under agreed lighting | Surface preparation, application, cure, film build and viewing conditions |
| Packing impressions or rub marks | Packed-part trial and shipment release | Cure stage, separator material, stack pressure and pack movement |
Photograph and label the raw component before coating, then use the same part reference through preparation and finishing. The resulting record connects the final appearance to the relevant production stage.
Build one complete preparation and coating process
Coordinate sanding, dust removal, edge sealing or priming, intermediate preparation, topcoat application and curing with the coating-system provider. Record product references, mixing and application instructions, film-build targets where applicable, sanding steps, drying or cure conditions and handling time. Faces and exposed fibre areas can require different preparation while remaining part of one approved system. Repeat production should follow the same recorded sequence used for the accepted sample.
Approve the finish through a sample ladder
Use progressively more representative samples so each approval answers a defined question.
1. **Flat substrate coupon:** screens face preparation, primer compatibility, colour and gloss direction. 2. **Edge-and-profile sample:** adds a sawn edge, routed detail, inside corner and hardware opening. 3. **First finished component:** confirms geometry, coating access, visible faces, edges, fit and handling weight. 4. **Packed component trial:** confirms cure stage, separators, labels, stacking and unpacking condition. 5. **Production reference:** retains the accepted component identity, coating record, drawing revision and inspection photographs.
Advance each stage after the earlier questions are resolved. This sample ladder concentrates full-component trials on the construction most likely to enter repeat production.
Qualify faces, edges and profiles together
The compressed factory face, cut edge and routed profile present different fibre structures to the coating. Select a test component with the deepest route, sharpest practical transition, most visible edge, inside corner and hardware opening included in the order. Apply the complete coating system to every critical area, then compare coverage, smoothness, colour, gloss and profile definition. The separate MDF edge preparation guide gives the detailed edge-focused review process.
Protect profile definition through coating build
Primer, sealer and topcoat add material around grooves, radii and inside corners. The approved profile should preserve the intended visual line after the full coating build and cure. Draw the routed section with width, depth, radius and remaining material, then inspect the finished sample for filled details, heavy edge build, visible fibre texture and transitions between faces and profiles. Adjust geometry and finishing parameters through the controlled sample process.
Approve colour, gloss and viewing conditions
Identify the confirmed colour reference, gloss level, texture expectation and viewing conditions. Review the sample under lighting representative of the finished furniture or interior. Inspect broad faces, edges, corners and routed areas from the agreed distance and angle. Record acceptable appearance, sample identity and date so purchasing, production and inspection use one reference. Colour selected from a screen can support early discussion, while the retained physical component controls final appearance approval.
Define visible zones and appearance acceptance
Map the component according to how it is seen and used. A front face, exposed edge or door profile can receive a higher appearance priority than a concealed reverse, hardware recess or assembly interface. Mark these zones on the drawing and connect each zone to the accepted physical sample.
For each zone, record the relevant review items: colour, gloss, texture, sanding trace, edge smoothness, profile definition, corner coverage and handling marks. State the lighting, viewing distance and component orientation used for approval. This produces a repeatable inspection method for suppliers, furniture factories and destination receiving teams.
Control repeat production and process changes
Link the approved component to the MDF batch or product reference, drawing revision, machining program, preparation materials, primer, topcoat and cure record. A change in substrate, tooling, sanding, sealer, coating, application or cure condition triggers a focused comparison with the retained reference. First-part review confirms geometry and raw machining; finished-part review confirms the complete surface system before the repeat batch proceeds.
Pack according to the supplied condition
Raw sheets and uncoated components use clean flat support, separators and edge protection that preserve the prepared surface for the next process. Primed and painted components enter packing after the recorded cure and handling stage. Use clean non-marking contact materials, controlled stack pressure, corner protection and part labels that avoid contact with critical faces. Define pack orientation, bundle quantity, destination and unloading method from the finished component and coating sensitivity.
Compare the cost of accepted painted parts
Compare quotation options at the stage required by the furniture factory. Use one cost structure for every supplier:
**MDF substrate + machining + surface preparation + primer and topcoat + curing and handling + inspection + packing + expected production loss ÷ accepted component quantity**
Include the work assigned to the buyer when a quotation ends at full sheets, machined parts or primed components. A higher substrate price can support a competitive finished-part result when it improves the agreed preparation process, machining yield or batch consistency. The first-component trial and production records provide the records supporting the commercial comparison.
Prepare a painting-MDF RFQ
Provide the information needed to select the substrate and qualify the finish:
- full sheet, uncoated machined part, primed part or finished component;
- application and service environment;
- MDF product, thickness, format, density and E0, E0.5 or E1 requirement;
- controlled drawings with faces, edges, profiles, holes and revision;
- supplied sanding and cleanliness requirement;
- edge and routed-profile preparation process;
- sealer, primer and topcoat system with responsible supplier or applicator;
- colour, gloss, texture and physical reference;
- representative sample and first-part approval;
- quantity by board specification or component;
- curing, handling, packaging, destination and delivery basis.
Capacity is 300 m³ per day for each thickness. The normal MOQ is 1 × 20'GP for each individual specification, and normal production lead time is 7–15 days after the substrate, drawings, supplied condition, sample plan and commercial requirements are confirmed. Use the Paint Grade MDF product page, Sanded MDF product page and Routed MDF Cabinet Doors product page for current supply options. Request a specification review with the component, quantity and destination.
Buyer review checklist
Before relying on this guidance, record the finished component, service environment, MDF product or unresolved product requirement, thickness, dimensions, supplied surface, visible edges, machining, hardware, quantity and destination. Identify which values need current technical documents and test reports and which appearance decisions need a physical sample.
For international supply, also confirm drawing and sample revisions, packaging construction, part or bundle labels, handling limits, required documents and the party responsible for finished-product design and destination compliance. Ask the supplier to list unresolved items and exclusions in the quotation, and keep every missing value visible for confirmation.
Compare quotations only after these inputs have been normalized. Check whether the offered price covers a full board, a faced construction, a machined part or a finished component, and whether samples, secondary work, protective materials and documentation are included. Record every change after approval so purchasing, production, inspection and receiving teams use the same revision.
Typical lead time is 7–15 days after requirements are confirmed. Final timing depends on specification, quantity, production scheduling and destination. This planning range covers production; arrival timing also depends on the confirmed logistics route.
Request an MDF quotation
Share the application, specification, quantity, packaging and destination with CUZI MDF for an order-specific review.